Graham Mayor
... helping to ease the lives of Microsoft Word users.
 |
 |
 |
Many people access the material from this web site daily. Most just take what they want and run. That's OK, provided they are not selling on the material as their own; however if your productivity gains from the material you have used, a donation from the money you have saved would help to ensure the continued availability of this resource. Click the appropriate button above to access PayPal.
Changing the envelope layout
While most of the illustrations on this page are from Word 2010 and Windows 7, the principles involved are the same for all recent Word versions and operating systems. The menu layouts may however differ slightly from those illustrated here.
The process described may appear daunting, but it is infinitely quicker to do it, than to explain how to do it, and the suggested method has the advantage that you can see the results of your changes as you go along, so try to stick with it.
You may also find it simpler not to use the built-in envelope function and create envelopes from a dedicated template. You will find add-ins elsewhere on this site that follow this approach -
Simple envelope creation from templates add-in
Insert an address or print an envelope or label add-in. See also the link at the bottom of this page.
There are three things you can change:
1. The envelope size - this is selected from the 'Options' button in the envelope/label tool dialog.
2. The envelope address position and format - these are fixed by the Envelope Address paragraph style. Note the Envelope Address style incorporates a frame - by default this has fixed height and width, but this can be changed as shown below.
3. The envelope return address position and format - these are fixed by the Envelope Return paragraph style. See Alternative Return Addresses for a means of expanding the use of return addresses on envelopes.
The Envelope Address paragraph style, by default, is based on the Normal paragraph style. Unlike earlier versions, In Word 2007/2016, the Normal style has 10 points of added spacing which in some circumstances can give the envelope addresses the appearance of double spacing. The default Envelope Address style takes account of this, but, for example, where upgrades from earlier Word versions are involved, the Envelope Address style may not take account of the spacing.

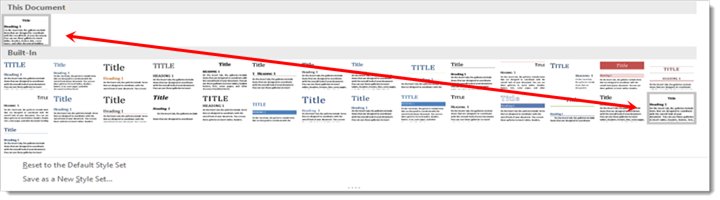
If you find that your envelope addresses have unexpectedly wide line spacing, this may be addressed either by using the Word 2003 style set (see illustrations below) in which the Normal style has no added spacing ....
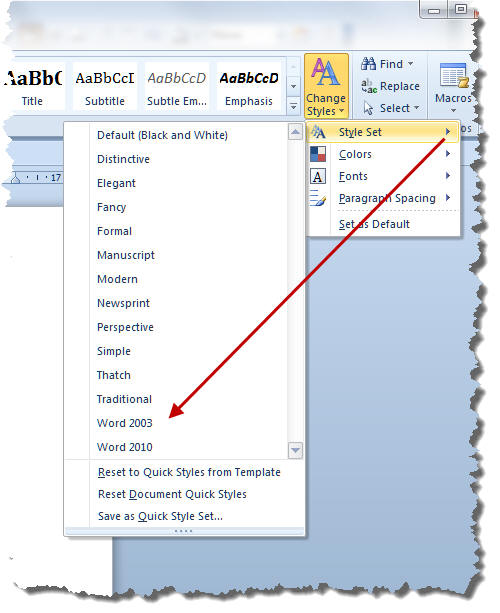
(In versions after 2010, the styles sets are to be found on the 'Design' tab of the ribbon.)
.... or better still modify the Envelope Address paragraph style to remove the spacing.
Getting started
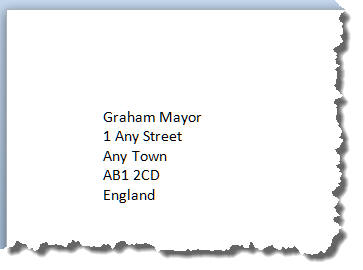
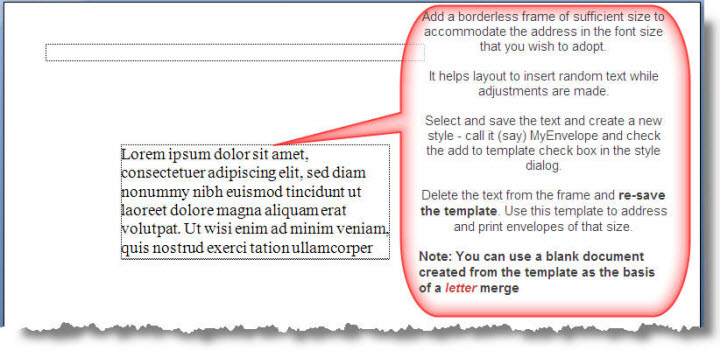
Start by putting a dummy address on an otherwise blank document (created from the document template if you only want the envelope changes to apply to that template). This is purely an aid to layout and will be discarded later. The content is thus immaterial.
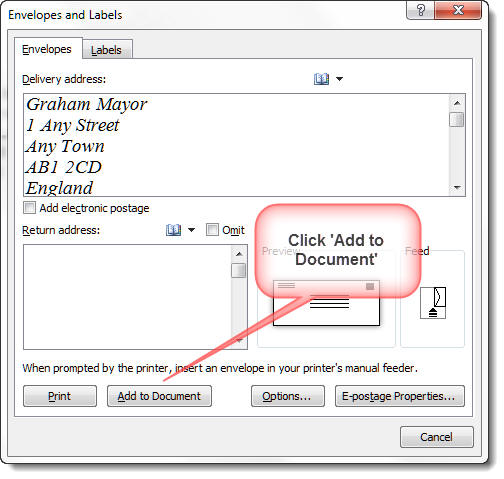
The envelope dialog is accessed from the 'Envelopes' tool on the 'Mailings' tab of the ribbon (from the Tools menu > Letters and Mailings in versions before the ribbon)
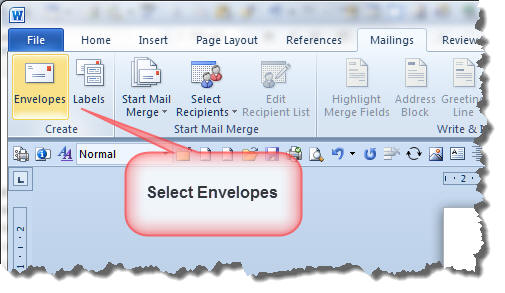
Use the tool to add an envelope to the document (if the default envelope size is not what you require, select the required envelope size from the wizard 'Options').
The address you have entered should be picked up automatically. If it is not then either cancel and select the address, or simply type the address in the Delivery Address window. When the address is present in the window, click 'Add to Document'
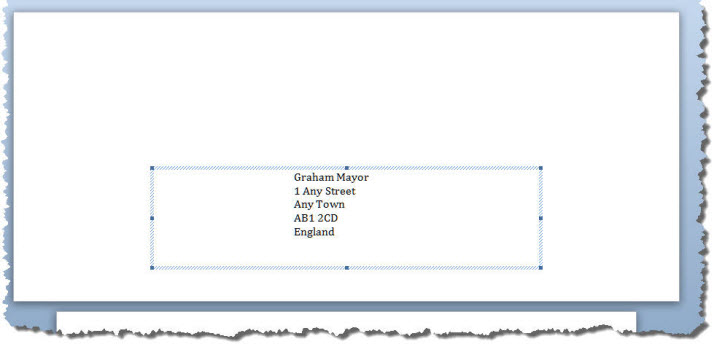
The address is transferred to an envelope which is added to the top of the document. Click on the address and the frame will come into view, as shown above. This frame is crucial to the positioning of the address and is part of the Envelope Address paragraph style which Word uses to format envelope addresses.
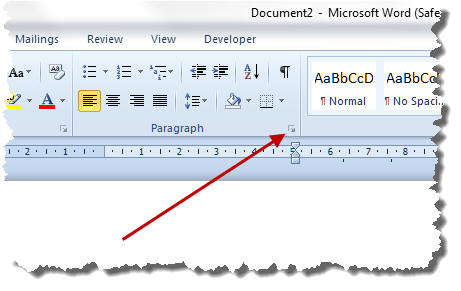
Click the edge of the frame and from the Home tab of the ribbon, click the arrow at the bottom right corner of the Paragraph section as indicated below. This will open the paragraph formatting dialog. Set the values as shown and click OK:

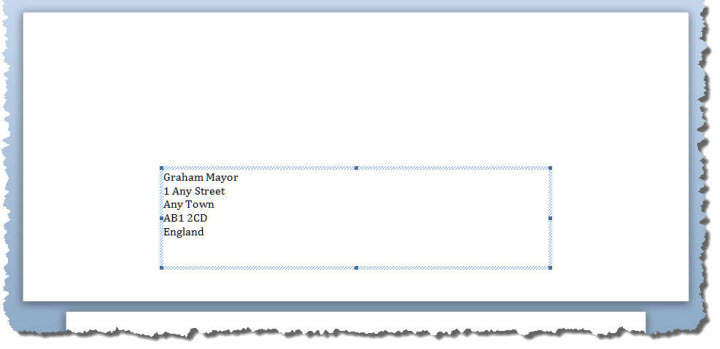
The address will move to the left of the frame
By default the frame size is fixed. This should be sufficient for any normal address, but you may prefer to allow the frame to expand to accommodate large addresses. Note that if you do so, there is a danger that an especially long address could run off the bottom of the envelope.
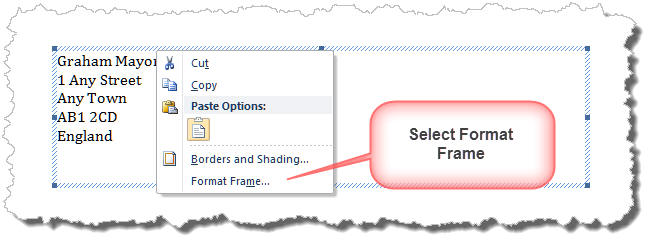
To make the change, right click the frame and select 'Format Frame'.
Change the height of the frame from Exactly to Auto. You could also set the width of the frame from this dialog, but without some indication of how wide the frame needs to be to accommodate addresses at the preferred font size, it is easier to adjust the width of the frame by dragging the edge - see later.

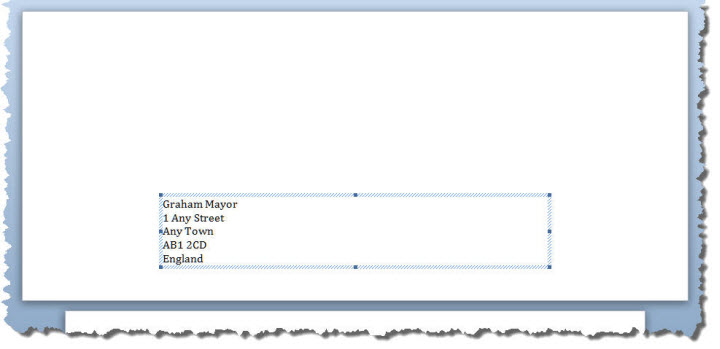
This will cause the frame to collapse to the height of the text it contains:
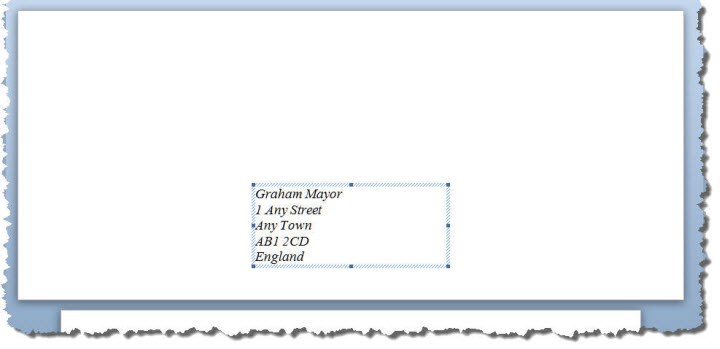
The address is now hopelessly misplaced and contained in a huge frame. Drag the right side of the frame to make it smaller and from the Home tab apply whatever formatting you prefer. In the following example I have set the font to 14 point Times New Roman Italic, and reduced the width of the frame.
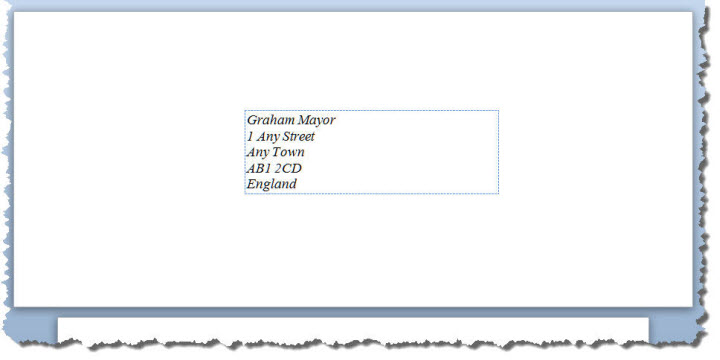
Position the address by selecting and dragging the frame to the preferred position.
Essentially that is the job done, however you now need to store the changes so that you won't have to repeat the above next time you wish to create an envelope.
Apply the changed settings to the template
There is more than one way to apply the changes to the template. If you are familiar with style editing you may have your own preferred method, but I find the following to be a simple approach.
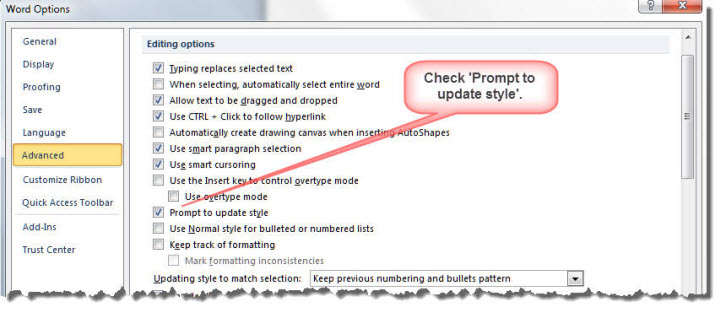
From Word's Options dialog > Advanced > Editing options, check 'Prompt to update style'. (In versions before the ribbon that would be Tools > Options > Edit).
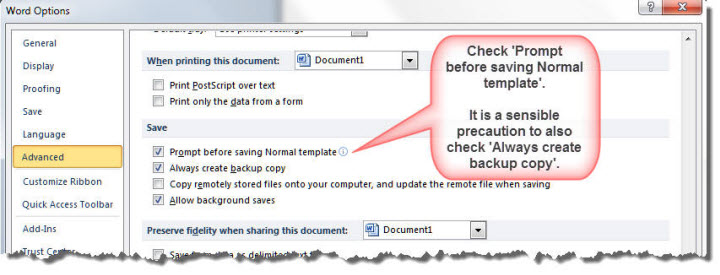
Scroll down the dialog to the 'Save' section and check the box 'Prompt before saving the Normal template'.
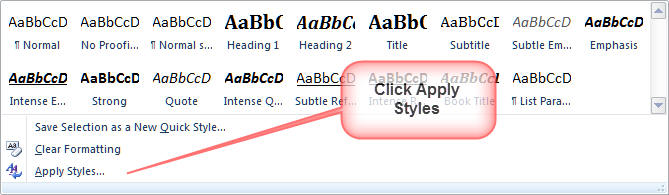
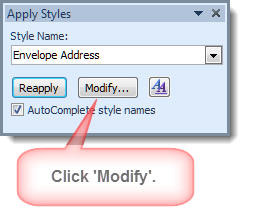
The next step is to re-apply the Envelope Address paragraph style to the selected frame. Because of the above setting, this will cause Word to request a decision whether to re-apply the original style or to update the style to reflect the changes you have made to it. Obviously you need to do the latter. If you make the wrong choice and the style reverts to the original, then CTRL+Z will undo the change and you can try it again.

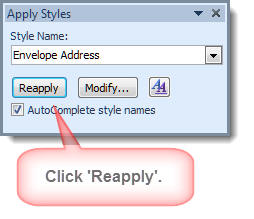
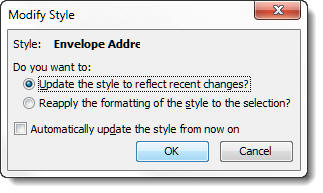
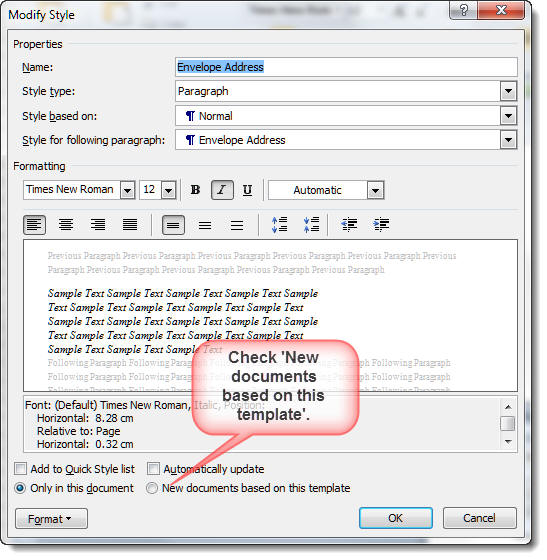
This produces the following dialog in which you can check the button to add the style updates to the template.
The styles have now been added to the template, but the template changes have not yet been saved for the future. This will occur when you next close Word. Answer 'Save' at the prompt in the next illustration.

The option to 'Prompt before saving Normal template' is by default unchecked. It is always desirable to know when Word needs to make changes to this critically important file, so rather than allow Word to simply make changes that you might not wish to retain, it is a good plan to leave this option checked. It is also desirable to check the option below it to 'Always create backup copy' as this will provide another rescue plan in case of a problem.
Envelope return address
If you have survived so far, the envelope return address changes should hold no fears - the only difference is that the style does not employ a frame and thus positional changes are made by indents and spacing as part of the style format. However, the facility to use Alternative Return Addresses adds so significantly to the use of return addresses that you will probably prefer to do things this way instead.
You may also find https://www.gmayor.com/Envelope_Label_Add_In.htm useful.
Window Envelopes
Window envelopes have nothing to do with any of what has gone before, but for the sake of completeness the following shows how to set up a template to use window envelopes. The following illustrations are from Word 2007 under Windows XP, but the dialogs are very similar in other versions.
Start by taking a window envelope, remove any cellophane from the window and insert a blank page that would be used for your letter, folder to fit the envelope. Insert the folded page into the envelope so that the top left side of what would be the letter will appear in the window of the envelope.
Take a pencil and draw around the window onto the folder paper inside.
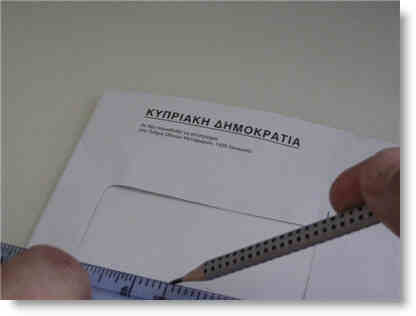
Remove the paper from the envelope and unfold to reveal the pencil marks. Measure the distances from the edge of the paper.
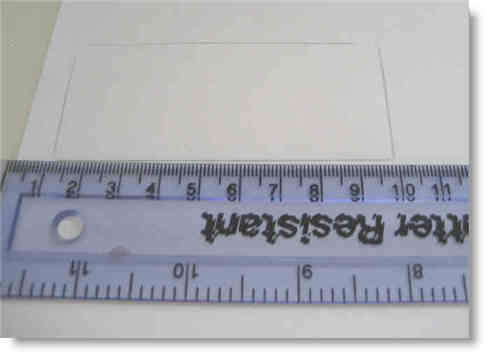
Print out a letter with the addressee information at the top and use a ruler to establish whether the address would fit within the rectangle. Adjust the margins and indents or paragraph spacing to accommodate any mis-match.
Custom Envelopes
Word can only print what the active printer driver will allow, and as many drivers are poor when it comes to custom paper sizes, Word will tend to substitute a standard paper size that the driver can print. This can prove a problem when printing non-standard envelopes, e.g. for greetings cards (and unusual sized documents generally).
The simplest workaround is to create an envelope template for such envelopes. As Word has no idea whatsoever what size paper you are going to run through your printer, you can start by setting up the page layout to any standard size that you wish that is larger than the document/envelope that you wish to print. The most obvious size to use is your standard page size of A4 or US Letter.
Establish whether the printer guides, when adjusted for your narrower document, are set for centre or side feed and attach the envelope to a blank piece of paper either at top centre or top left (right feed).
Tip: If centre feed, fold the narrow edge of the paper and the top edge of the envelope in two and nip the edges to mark the centres. Superimpose envelope over paper so that the nip marks coincide,
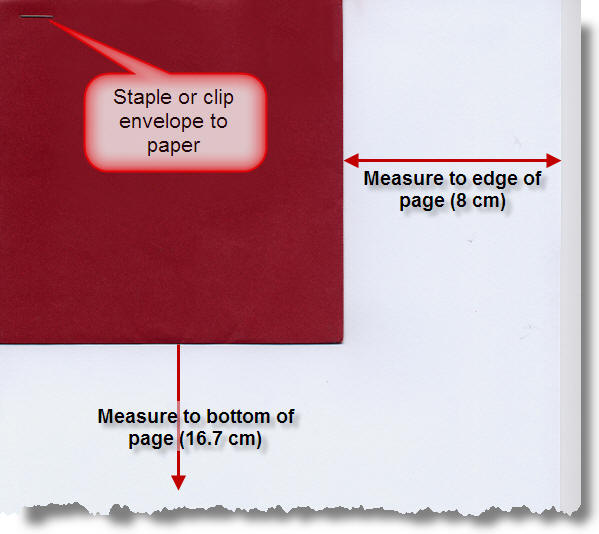
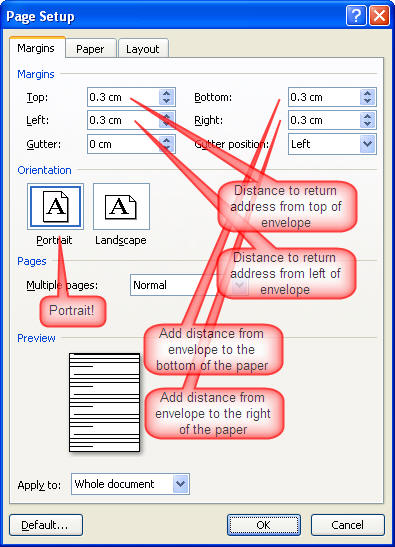
You should end up with something like the image above. Take a note of the two measurements (in the case of the centre feed printer - the measurement at the left side of the envelope will be the same as that at the right.)
Open a blank document based on the normal template and add the measurements to the page margins. The page setup dialogs are similar for Word 2007 and earlier versions so I have shown that from 2007 below.
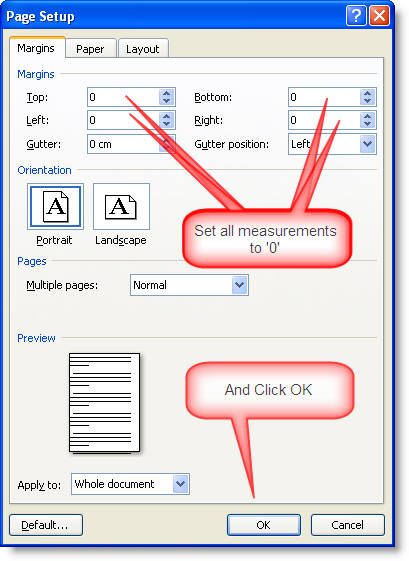
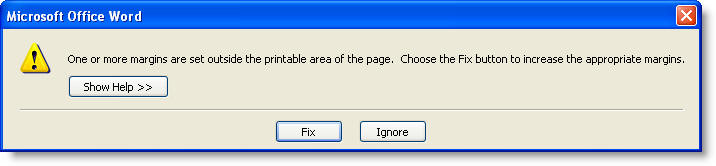
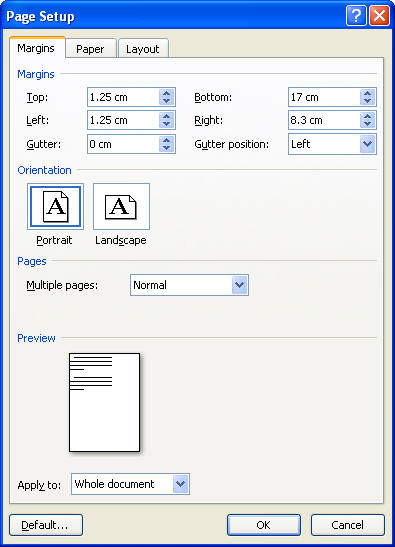
This will almost certainly produce the following error message as most drivers cannot print to the edge of the page. Click Fix to correct the errors.
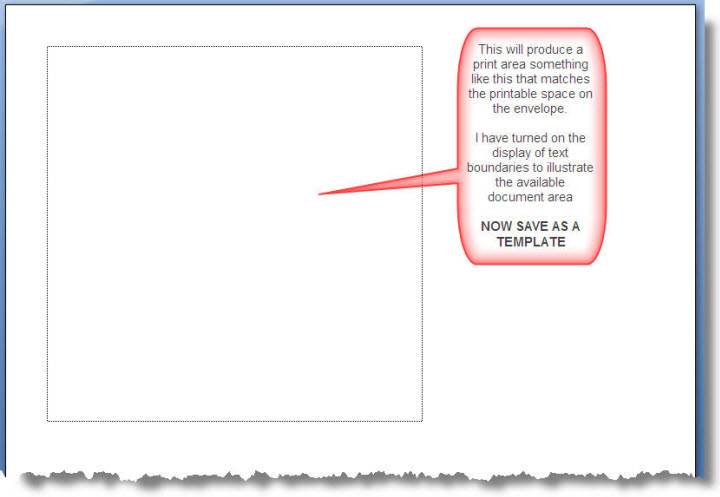
If you would prefer to use a document template to produce envelopes, samples in #10 size are available from the downloads page for you to use or adapt.
Envelope layouts
Envelope layouts provide hours of fun, if you don't know their secrets. The most important thing to note is that you can only have one envelope size for a given template. If you use different envelope sizes for different document types, then you will need different templates to hold the settings. If the envelope settings have not been changed for a given document template, the default settings are those stored in the standard Normal template.