Graham Mayor
... helping to ease the lives of Microsoft Word users.
 |
 |
 |
Many people access the material from this web site daily. Most just take what they want and run. That's OK, provided they are not selling on the material as their own; however if your productivity gains from the material you have used, a donation from the money you have saved would help to ensure the continued availability of this resource. Click the appropriate button above to access PayPal.
Print an envelope or label for the selected Outlook contact
This page was prompted by a question in the Microsoft Office Answers forums from a user who wanted to be able to print an envelope or label for a selected contact in Outlook by merely clicking a button. I replied to that question with a pair of macros from which this page was developed.
Rather than ask users to attempt to reconstruct the Outlook user forms and macro code employed by this function, I have made them available for download.
Extract the files from the zip. The three indicated items can then be imported into the Outlook VBA editor either from its file menu or by dragging and dropping into the project directly from Windows Explorer - see first illustration below.

Although intended for Outlook 2007 to 2016, it should also work in Outlook 2003, though that version will require the Office 2007 compatibility pack.
The ZIP file includes sample envelope and table documents. The envelope document as shown may be edited. If the label document is not of the format you need, create a new label document (see below).
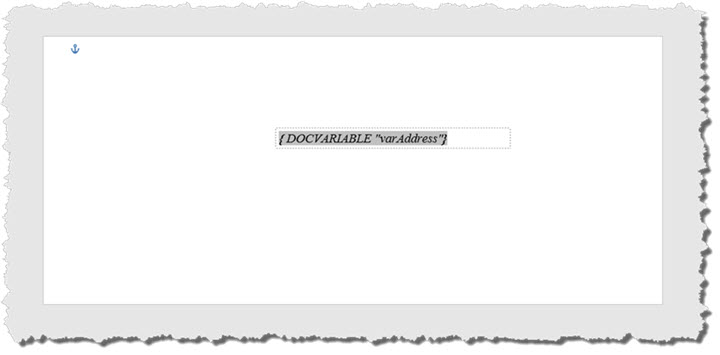
Format the included envelope document as required. The envelope features a docvariable field to place the address. When editing the envelope to suit personal requirements do not delete this field or the process will not add an address to the envelope.
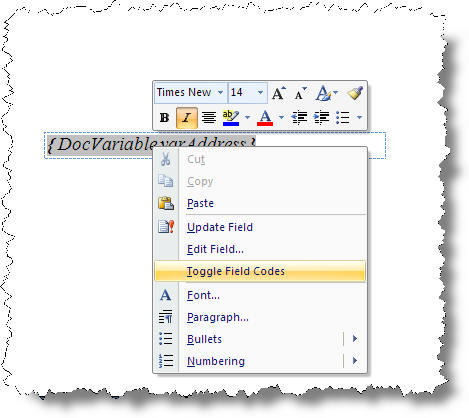
Toggle the field display to hide the field construction (ALT+F9) - or right click the field to toggle field codes
Save the changes to the envelope document retaining the name Outlook Envelope.docx in the My Documents folder and close the document.
For the labels, it is not practical to edit the table. It is much simpler to create a new template.
From the Envelope and Labels function create a new document from the labels tool using your preferred label format.
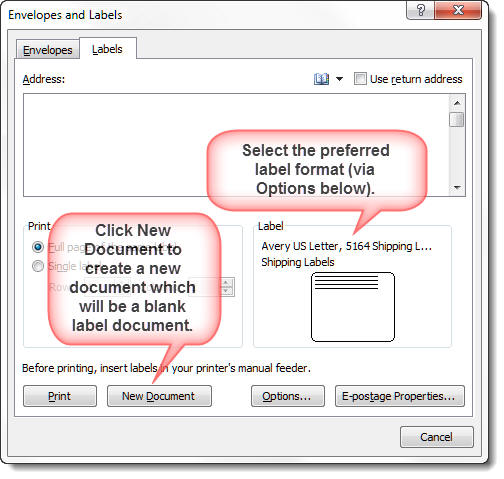
Save this document as Outlook Label.docx again in the My Documents folder.
This label document does not require the docvariable field employed by the envelope function.
These documents are used by the function to print labels and envelopes. It would have been possible to use the Word envelope and label dialog from the function, but this method was used for speed and convenience.
The macro stores details about the layout of the label document in the registry, to which end it creates a registry entry "HKEY_CURRENT_USER\Software\VB and VBA Program Settings\Outlook Envelope\Table" with two sub keys "Rows" and "Columns" . Thus the macro requires that the user has write access to the registry. This registry data is created the first time the macro is run, and is updated every time the label format on the user form is changed. The default values are 3 columns, 8 rows, so for most users this will have to be changed the first time the macro is run to match the values from the envelope document. Thereafter the information will be stored and presented on the form whenever the macro is run.
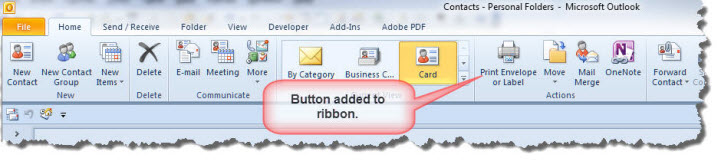
All that remains is to create a toolbar button to run the macro PrintEnvelope_Label.
The function prints a label or envelope for the selected Contact. If no contact is selected the following error message is presented:
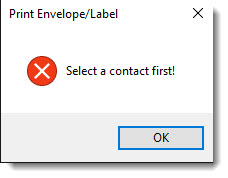
Otherwise the main form is presented with the default option set to Envelope and the current address to be printed shown in the upper window. If the macro is added to the ribbon of the Contacts tab (easily achieved in Word 2010 with the built-in ribbon editor) the above message should never be seen.
Office 2010 and later provides a rudimentary ribbon editor. Office 2007 users should add a button to the QAT (Quick Access Toolbar) . I have shown the button added to the Actions Group associated with the Contacts folder. The ribbon editor does not allow buttons to be added into an existing group, so to achieve that effect you must recreate the whole Actions group with the addition of the button as a custom group, and hide the original Actions group.
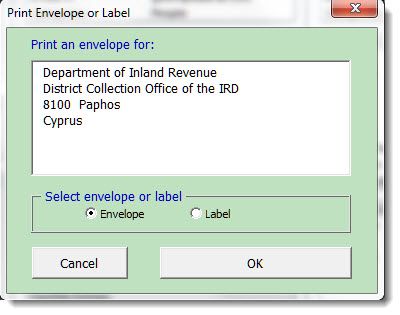
You may edit the address directly in the window as required.
Click the Label option button and the label settings are added to the form:
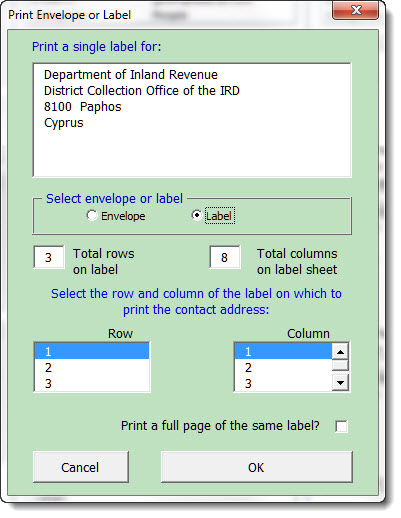
Select the label location to be printed from the lower part of the form as shown above to print a single label. Click the check box at the bottom of the form if you require a full page of similar labels for the contact, which changes the display:
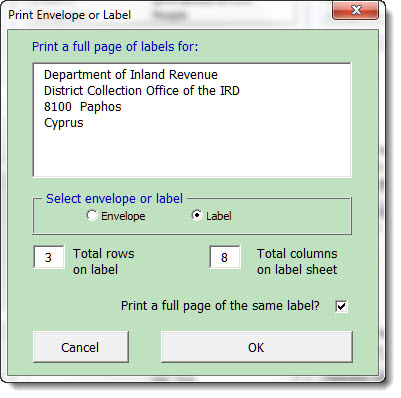
Finally click OK to print with the chosen settings or Cancel to quit.
 - Click here to download the userform
and macro modules
- Click here to download the userform
and macro modules
There is also a similar, but enhanced, version of this macro available as an add-in for Word. This add-in does not require any programming knowledge or access to the VBA editor.
Print an envelope or label
While this page features macro programming, the methods shown have also been developed into a somewhat more refined add-in for Word, which requires no programming knowledge and no need to go anywhere near the VBA editor.