Graham Mayor
... helping to ease the lives of Microsoft Word users.
 |
 |
 |
Many people access the material from this web site daily. Most just take what they want and run. That's OK, provided they are not selling on the material as their own; however if your productivity gains from the material you have used, a donation from the money you have saved would help to ensure the continued availability of this resource. Click the appropriate button above to access PayPal.
Graphics on Labels
Mail merge - Inserting logos /graphics on business cards and mailing labels
Graphics including watermarks and wrapped images can be a tad complicated to insert on Word labels, but, with Word 2000-2010, it is possible. With earlier versions you may need to insert the image in a text box, and forego the option to insert a watermark.
As far as Word is concerned, business cards and postcards are essentially mailing labels, so whether you use the envelope/label wizard and/or mail merge to labels, the problem and its solution are essentially the same.
Use the envelope/label wizard to create a new document based on your card/label format. This will insert a table on the page that reflects the layout of the labels.

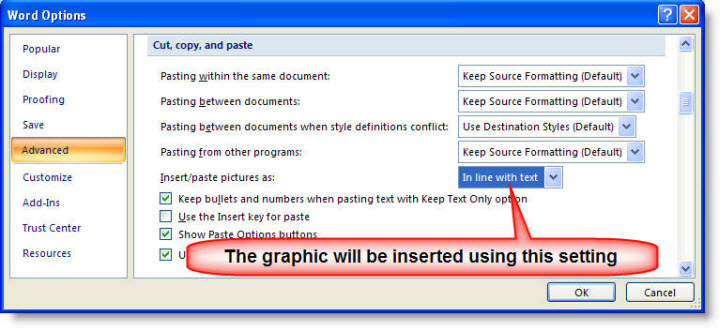
With some graphics. by default. Word 2002/3 will use the drawing canvas. This can be turned off from Tools > Options > General - see below. Word 2000 did not use the drawing canvas.

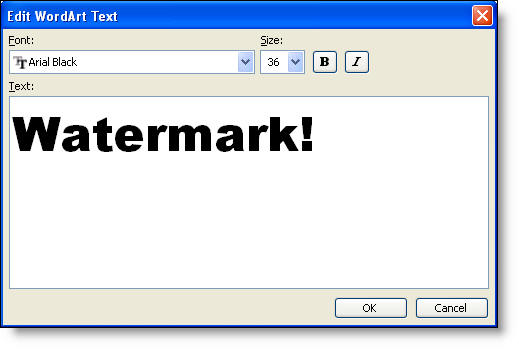
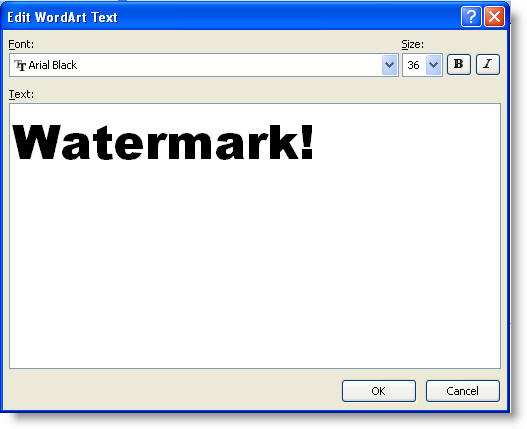
For this exercise I will use a WordArt text as a watermark, but the image could be any type of image that you can insert into a Word document. A watermark will be set behind the label text, but a wrapped option could be used if preferred.
Prior to Word 2002, WordArt could not be inserted in-line.
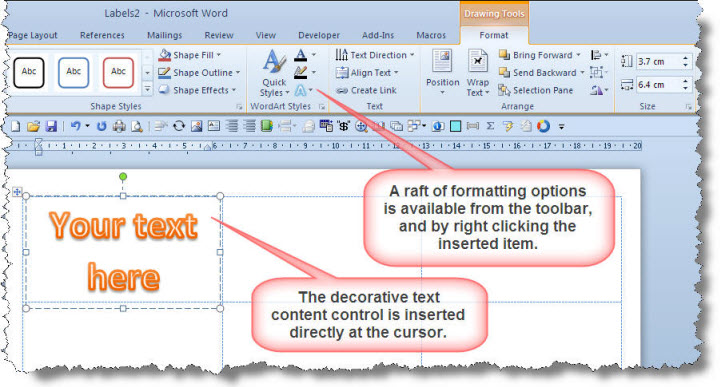
WordArt may be inserted from the button on the drawing toolbar (as illustrated) or from the Insert menu.
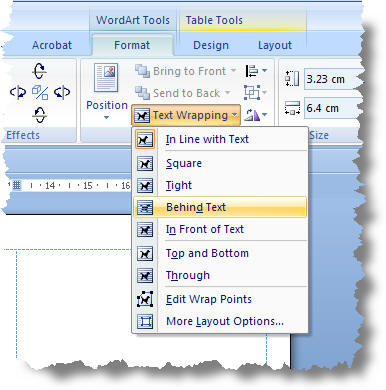
Format the WordArt to set the image behind text. When so set, you will only be able to select it using the white arrow pointer on the drawing toolbar.
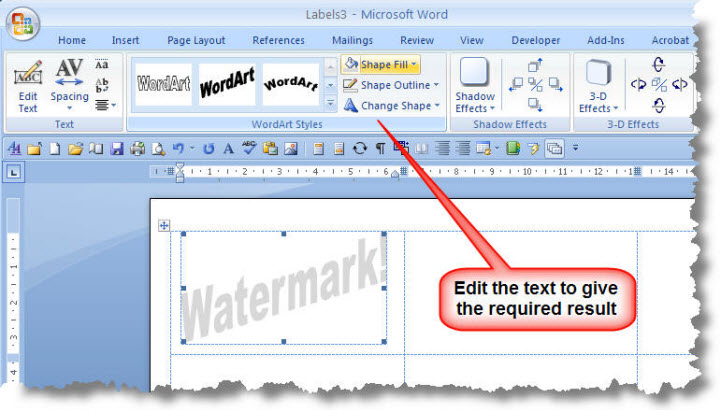
Set the options to display the image at a high level of transparency according to taste - here 90% - and set the line colour setting to 'No Line':
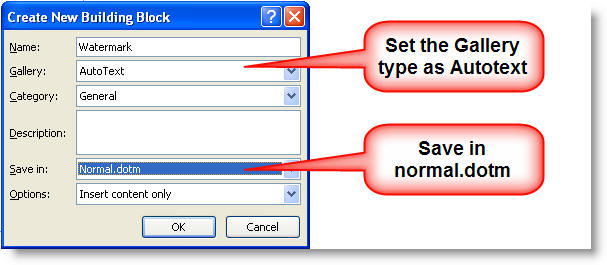
Select the image and press ALT+F3 to save as an autotext entry. Call it 'Watermark'. (The name is not important, as long as it is unique).
For a single page of labels, you can select the cell containing the image and copy the cell to the clipboard (Ctrl+C). Select the table as below:
Click 'Paste' (CTRL+V) to paste the cell content into all the other cells.
Unfortunately the above is not completely reliable
and you may find it difficult to reproduce the image in each of the cells.
The image tends to have the bad habit of jumping out of the cell.
If that should occur, then all is not lost. Having saved the graphic as an autotext entry,
you can adopt the following procedure to ensure that the image is correctly placed in each label.
Alternatively, the Macro at the end of this page will duplicate the content of the first cell into all the other cells
Cancel the document as you won't need it any more.
Run the envelope/label wizard again.
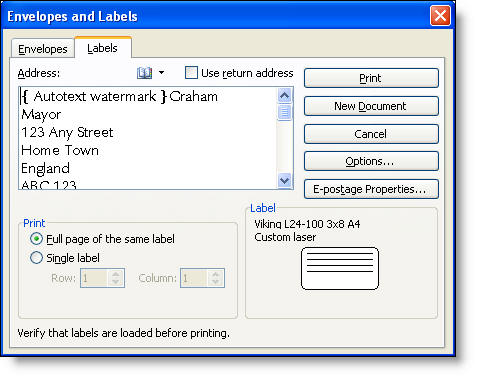
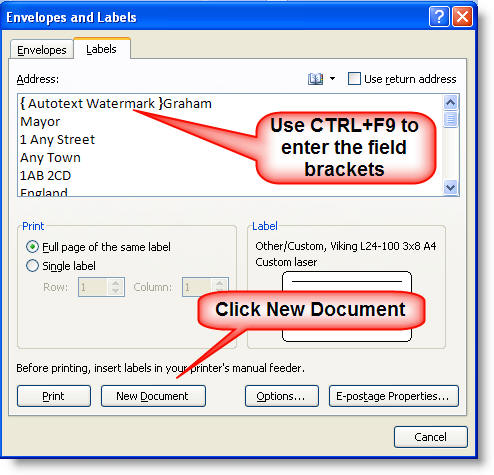
When you get to the window in which you insert the address information, type the autotext name - here watermark - and press F3 to insert the image into the label window. The window may not display the graphic, but you will see something has occurred. Select 'New Document' to produce a page of labels each containing the image - as in the previous illustration.
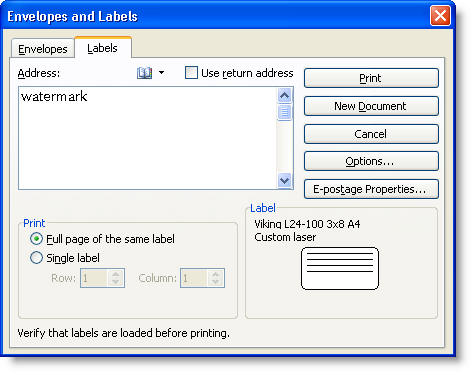
For mail merge or labels containing text as well as the image, a slight variation on the above technique is required.
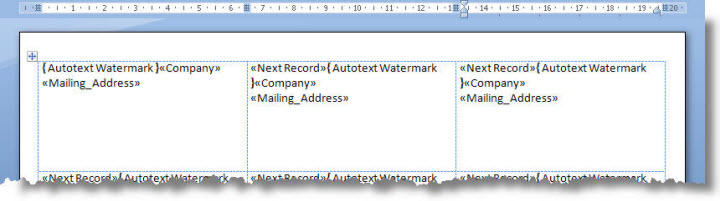
When you get to the window in which you insert the address information, insert that address information, Press CTRL+F9 and between the curly brackets type AUTOTEXT Watermark - thus {AUTOTEXT Watermark}. Add the rest of your address (or merge fields if merging).
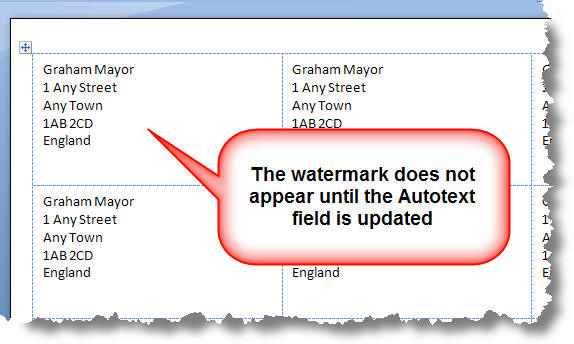
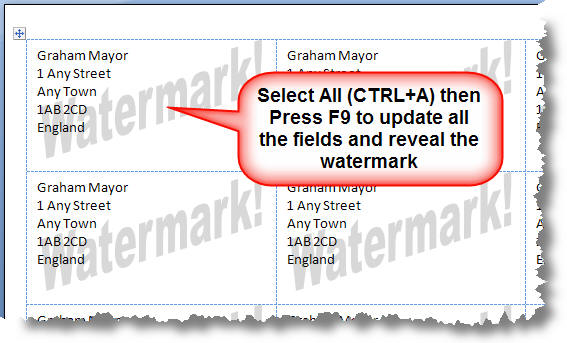
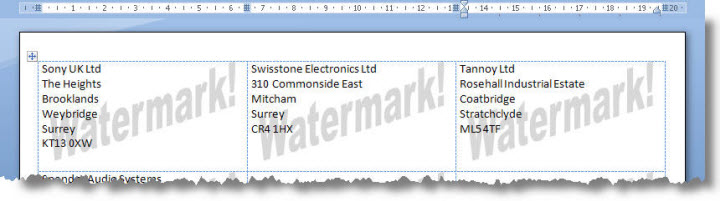
Now either create a new document from the label wizard or merge to a new document. If the images do not display select all CTRL+A then F9 to update the fields, and you should get your text and image in each cell.
or with mail merge
(note these addresses were taken from an old list and may no longer be valid for those companies shown.)
Word 2007
Word 2007 is essentially similar, but the access to the dialogs is a little different and there are a few more quirks to complicate matters further.
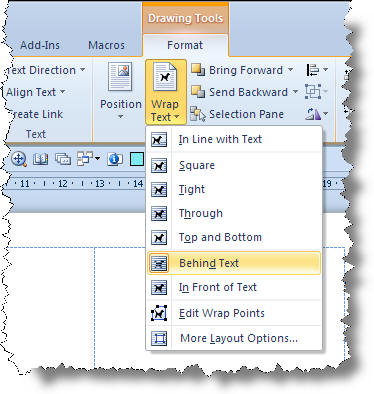
Click OK to insert the graphic in the cell. Then set the wrap to 'behind text' and format the fill and line settings etc to give the appearance you wish to achieve.
Word 2010
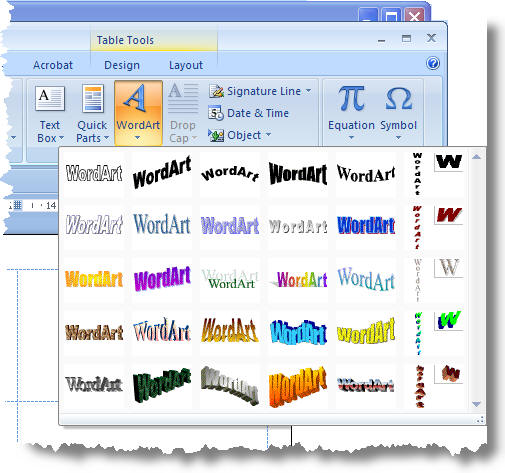
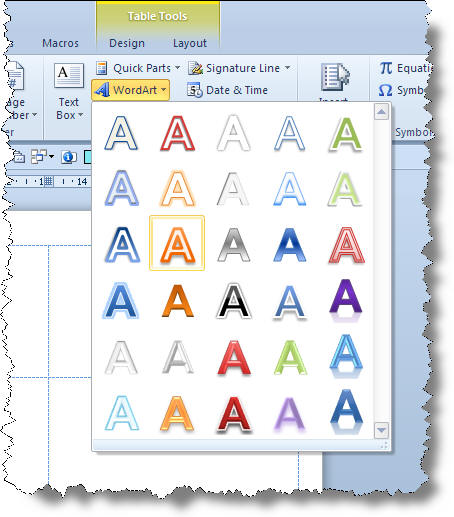
Word 2010 is essentially similar, but the dialogs associated with decorative texts are somewhat different from the above. As with Word 2007, the Word Art selector is on the Insert tab, but the drop down it produces is quite different.
Set the text wrap to 'Behind Text'
Word 2007 & 2010 - the remainder of this section applies to both versions
With the watermark, formatted as required, selected Press ALT+F3 to activate the Building Blocks dialog.
The watermark autotext entry should then behave as it does
when using the older Word versions, however the inserted autotext entry will
not retain its wrap option, but will be inserted according to the setting in Word Options.
It is probably simpler to leave your preference and format the inserted graphic in the
merge document before adding the merge fields and propagating the labels.
I would not recommend the use of the autotext entry in the labels wizard as shown above for the older Word versions. Use the macro at the end of this page instead. However, it can be coaxed to work:
Mail merge too will require the fields to be updated before merging to a new document.
Macro to duplicate the content of a label (graphics and text) to all the other labels
The macro employs the propagate function, from the mail merge toolbar, available by converting the document type to a mailing label merge document and was inspired by a suggestion made by Microsoft Office MVP Beth Melton in a newsgroup thread about graphics on labels. The method can be used without the aid of the macro, but requires several steps as indicated in the macro comments.
The macro will work with all recent Word versions.
Dim oTable As Table
Dim oField As Field
With ActiveDocument
'Change the document type to mailing label
.MailMerge.MainDocumentType = wdMailingLabels
'Propagate the labels
WordBasic.MailMergePropagateLabel
'Check each table in the document
For Each oTable In .Tables
'Check each field in each table
For Each oField In .Fields
'If the field is a {NEXT} field,
If oField.Type = wdFieldNext Then
oField.Delete
'Delete it!
End If
Next oField
Next oTable
'Revert the document type to a normal document
.MailMerge.MainDocumentType = wdNotAMergeDocument
End With
End Sub
Publisher?
If you have access to Microsoft Publisher, then this is a much better tool for producing labels with graphics than Microsoft Word.