Graham Mayor
... helping to ease the lives of Microsoft Word users.
 |
 |
 |
Many people access the material from this web site daily. Most just take what they want and run. That's OK, provided they are not selling on the material as their own; however if your productivity gains from the material you have used, a donation from the money you have saved would help to ensure the continued availability of this resource. Click the appropriate button above to access PayPal.
Extraction of images from Word (Excel and PowerPoint)
Once an image or other media file is included in a Word document (as opposed to being linked to it), it becomes part of that document. Extracting that image for re-use, is not insurmountable. Some methods are shown below; however let's first investigate a procedure to extract images and other media files from Word XML format documents and templates as created by Word 2007 and later, to a nominated folder on your hard drive.
The process optionally allows the extraction of custom ribbon images where present.
The processes described in the following add-in are applicable also to workbooks created by Excel and PowerPoint presentations from Word 2007 and later.
The attachment when installed in the Word startup folder adds an icon to the Add-Ins tab of the Word ribbon
If you prefer you can simply run the function from the template without installing it as an add-in, either by creating a new document from the template or by opening the template itself.
Running the function presents my usual disclaimer text followed by the main dialog, initially with the Word option selected, but subsequently with the selected option redisplayed, as shown in the illustrations below:
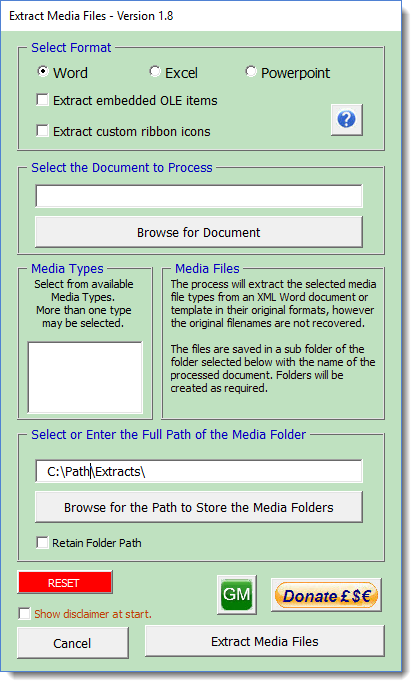
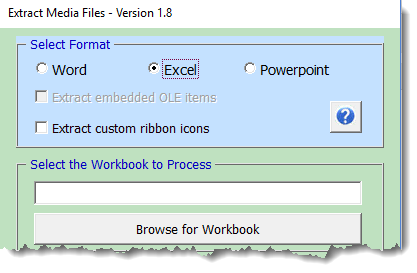
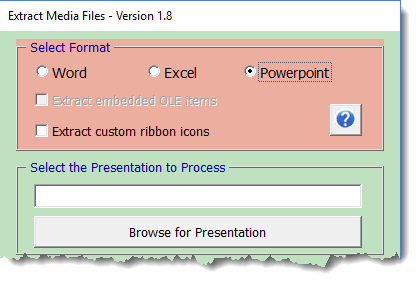
The dialog is self explanatory and the process is extensively error trapped. Basically you select the file type you wish to process using the Browse button. The illustration below shows the selection as PowerPoint, but the other file types are essentially similar.
When selected the contents of that file are extracted to a temporary location. This will take a few moments depending on the size of the document being processed.

When the files have been copied to a temporary location, the various media file types are listed in a list box. You may select as many or as few of the available file types for extraction to the folder shown beneath the list box
If you wish to create a new folder in which to store extracted images, you may enter that manually and the folder will be created for you. You have the option also to retain the entered folder path for future use.

Where there are no media files stored in the document, the list box will indicate that and you may then either browse to another file or Cancel.

Note that the folder path named in the add-in is the root folder for your document image extractions. The images are saved in a sub folder named after the document under process. If you process a similarly named document in the future the original folder is not overwritten but the name has an incremented number appended for the current document.
The Reset button, as its name implies, clears the variable data stored in the template.
 -
Click here to download the add-in
-
Click here to download the add-in
Extract using Word 2007/2010
Word's new file format is XML and when you save a document in Word 2007/2010's default DOCX format, you are in effect saving a zip file that contains all the elements of the document. You can easily extract the files from that zipped file by opening it with a zip utility such as WinRar or Winzip - or if you change the file extension from DOCX to ZIP recent Windows versions should be able to open it directly.
The image files (provided they are real images and not shapes or autoshapes) are stored in a sub folder called Media and can be extracted and renamed for re-use:
You can use this method to extract images from DOC format documents, provided you save them from Word 2007/2010 as DOCX format with the compatibility option unchecked first.
An alternative method using html
This essentially similar method may be used with Word 2007, but the above method is simpler, so the following is more applicable to Word 2003 and earlier. It relies on the fact that html is also comprised of a number of separate elements, though in this case the folders are not compressed.
The File menu has an option to save as a web page. The default option for this function is the single page web format, hence the suggestion to save the document in the manner described.
The images will be saved in a sub folder of the folder into which the document is saved which will have a name based on the filename chosen i.e. <Filename>_files.
This is the default setting and is controlled from Tools > Options > General > Web Options (see illustration).
Save the document as a webpage (File > Save As). In the following example, I have used the name Extract.htm. The sub folder in this case will therefore be called Extract_files.
The files will not be visible in the 'save as' dialog, but you can view them in the File > Open dialog with the file type set to 'all files' (as below), the Insert Picture dialog or by using Windows Explorer.
This alone will extract the images, but the original resolution no longer applies. You can improve the resolution of the extracted images by setting the web options from the 'Tools' sub menu of the file save window (or from Word Tools > Options > General > Web Options). Select the 'Pictures' tab and choose the largest screen size available, and in the 'Pixels per inch' box, type '300' - see illustration:
The resulting image may not have the resolution of the originally inserted image, but it should produce an acceptable image file.
PowerPoint
Word users with PowerPoint can use that application as an aid to extracting images individually with the possibility of improving the resolution compared with the above quick and dirty method.
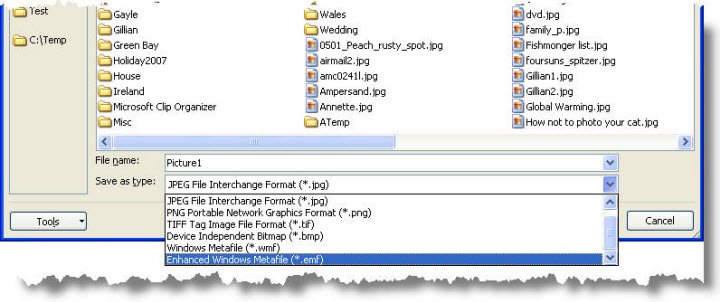
Select the image in the Word document and paste it into an otherwise blank PowerPoint slide. Right click the resulting image and choose Save as Picture.

This provides the option to save the image in a number of compatible formats of which EMF (Enhance Windows Metafile) may produce the best results.
-
Click here to download the add-in
Extract Images
There are several approaches one can take to extract images from Word documents, much depends on the document format, and in many cases the results may not be identical to the original image.