Graham Mayor
... helping to ease the lives of Microsoft Word users.
 |
 |
 |
Many people access the material from this web site daily. Most just take what they want and run. That's OK, provided they are not selling on the material as their own; however if your productivity gains from the material you have used, a donation from the money you have saved would help to ensure the continued availability of this resource. Click the appropriate button above to access PayPal.
Prepare a letter document for printing, without the letterhead, on pre-printed paper
While it is fairly straightforward to create a letterhead document in Word, users may require that document to be printed on pre-headed paper, and there is no straightforward method of printing a document without the letterhead information. The result is that the expensive pre-headed paper is over-printed with the graphics and text from the document.
It is possible to re-colour the text white and set the brightness of graphics to 100% which will produce a 'white-out' effect, but it is a lot of bother when all you want to do is print the document.
With a little foresight, it is possible to automate this procedure.
Let's start by assuming that you already have a letter template c/w a letterhead in the header/footer of the first page. We can use this as the basis of a new template.
The illustrations are from Word 2007, but the principles involved can be applied to all Word versions.
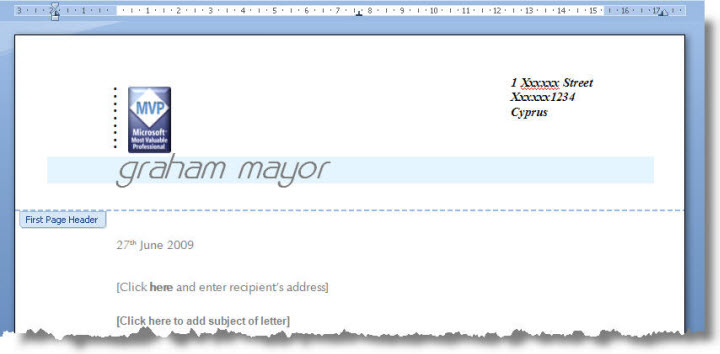
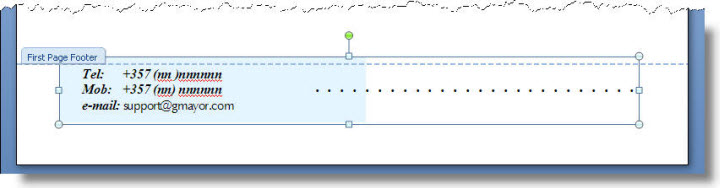
Open the template in Word for editing. Open the header view and you will have something like:
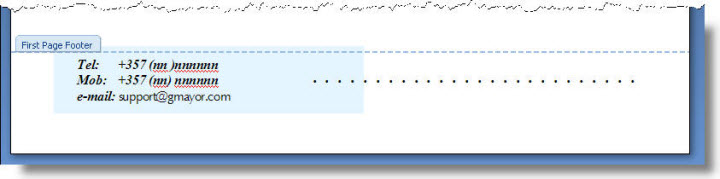
Use a screen capture utility. I would recommend SnagIt, which is excellent, and there is a trial version that would enable you to do this. Capture the relevant parts of the header and footer as images and crop them to produce graphics similar to those shown below. You will notice that the 'First Page Footer' tab obscures part of the blue background around the telephone number panel in the example above.
SnagIt includes a useful graphics editor that makes light work of removing unwanted parts of the image. Save the two images in your preferred graphics format - jpg works fine for this.
and

Save the template with a new name. Then delete the header and footer content.
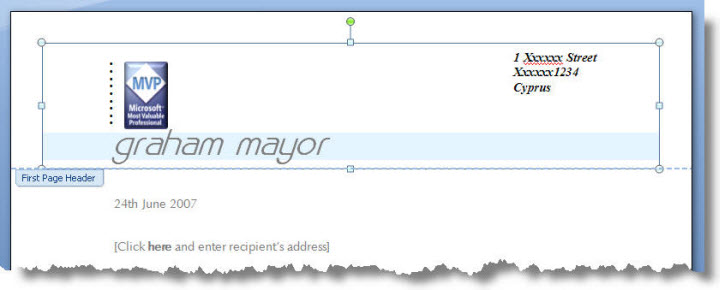
Insert the two graphics items into the header and footer respectively. Set their layout properties to wrap above and below.
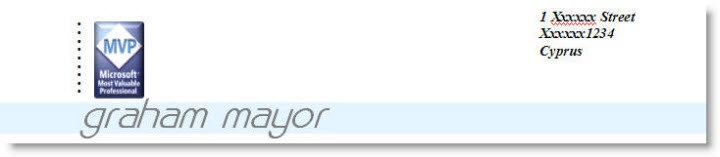
Adjust the size to 100% and position the graphics to match their positions on the pre-printed paper. Close the header view and you should end up with a template that looks identical to the original template - see below. Save the changes!
Some letterhead formats have continuation pages with similar or different graphics and text in the header/footer. In such circumstances create separate graphics from the continuation pages and insert them into the appropriate header/footer.
If you don't have a Word template to begin with, use a scanner on the pre-printed paper to produce an image of the letterhead and crop the header and footer sections, using the graphics editor, to produce graphics similar to those extracted from the template, as above, and create a new template in which to include them.
You can now add a macro to the template to 'white-out' the graphics, print the document and restore the graphics: The macro below will address 'floating' graphics of the type suggested above in all the header footer ranges of the document.
When the macro is run, a dialog box requiring user input provides the choice to print to plain or pre-printed paper.

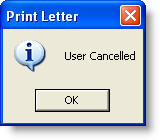
If the user selects No, the document is printed with the letterhead as shown above. If the user selects Cancel or clicks the white cross in the red corner box, the macro is cancelled and no printing occurs. A message box informs the user what has occurred:
If the user selects Yes the letterhead is turned white as shown below, retaining the position it occupied, and the document is printed. The letterhead is then restored to its visible state.
It would be possible to rename the macro to FilePrintDefault thereby intercepting the default print command, but I personally prefer to simply add the macro to a toolbar button.
You may wish also to incorporate printer commands to choose a different printer and/or printer trays within the print routines of the macro. For further information on that see Print to a Specific Printer.
Dim oDoc As Document
Dim oSection As Section
Dim oHeader As HeaderFooter
Dim oRng As Range
Dim oFooter As HeaderFooter
Dim i As Long
Dim sPrint As String
Set oDoc = ActiveDocument
sPrint = MsgBox("Print to letterheaded paper?", vbYesNoCancel, "Print Letter")
With oDoc
If sPrint = vbNo Then
.PrintOut
Exit Sub
End If
If sPrint = vbCancel Then
MsgBox "User Cancelled", vbInformation, "Print Letter"
Exit Sub
End If
For Each oSection In oDoc.Sections
For Each oHeader In oSection.Headers
If oHeader.Exists Then
Set oRng = oHeader.Range
For i = oRng.ShapeRange.Count To 1 Step -1
oRng.ShapeRange(i).PictureFormat.Brightness = 1#
Next i
End If
Next oHeader
For Each oFooter In oSection.Footers
If oFooter.Exists Then
Set oRng = oFooter.Range
For i = oRng.ShapeRange.Count To 1 Step -1
oRng.ShapeRange(i).PictureFormat.Brightness = 1#
Next i
End If
Next oFooter
oDoc.PrintOut
For Each oHeader In oSection.Headers
If oHeader.Exists Then
Set oRng = oHeader.Range
For i = oRng.ShapeRange.Count To 1 Step -1
oRng.ShapeRange(i).PictureFormat.Brightness = 0.5
Next i
End If
Next oHeader
For Each oFooter In oSection.Footers
If oFooter.Exists Then
Set oRng = oFooter.Range
For i = oRng.ShapeRange.Count To 1 Step -1
oRng.ShapeRange(i).PictureFormat.Brightness = 0.5
Next i
End If
Next oFooter
Next oSection
End With
Application.ScreenRefresh
End Sub
Using AutoText (Building Block) entries to hide the header/footer content.
An alternative approach, and one I favour when creating document templates from scratch, is to use AutoText entries to hold the header footer content.
Start with a blank document and save it as a macro enabled template. If required, from Page Setup, set the different first page header/footer option, and insert a (temporary) page break to provide access to both the first page and primary header/footers.
Treat the two headers and footers as four separate entities.
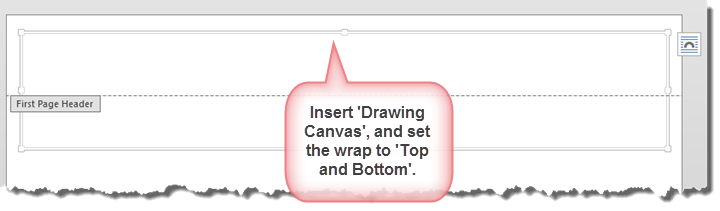
Insert a drawing canvas in the first page header range. Set its wrap to 'Top and Bottom'.
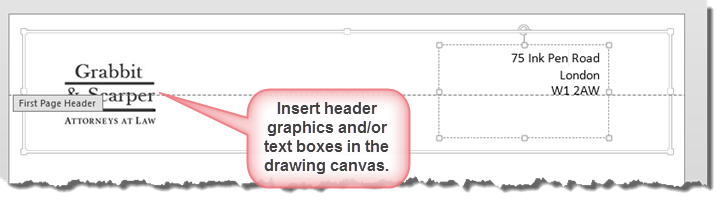
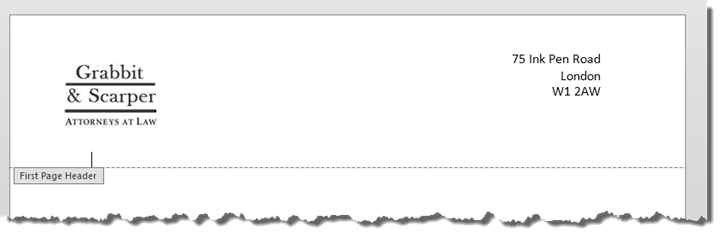
You can now build the letter first page header in the drawing canvas, using images and text boxes. The result should be something like:
Note, if your letterhead comprises solely of a single graphic you don't need the drawing canvas, which is used only to assemble multiple graphical objects (which in this case includes text boxes).
When happy with the result, select the drawing canvas and press ALT+F3 to open the AutoText dialog.
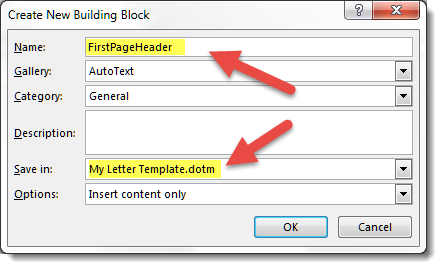
Give the autotext entry the name FirstPageHeader and ensure that you save it in the template you are creating (which is why you save the template at the outset).
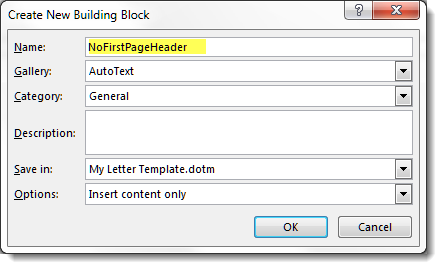
Next delete the graphical elements from the drawing canvas, leaving the canvas in place and the same size. Select the canvas and press Alt+F3 . This time save the entry as NoFirstPageHeader
Now delete the drawing canvas from the header. The header range will shrink back to its original size. In the header insert an Autotext field to call the saved autotext entry. The easiest way to do this is to Type CTRL+F9 in the header (the size and typeface are irrelevant) and between the brackets type AUTOTEXT FirstPageHeader.

With the cursor in the field press F9 to update then Alt+F9 to display the result and if you have done it correctly, you will see:
Repeat the process for the first page footer content and save autotext entries as FirstPageFooter and NoFirstPageFooter. Put the autotext field in the footer range, just as you did with the header.
If there are text and/or graphics in the Primary header and/or footer then create similar autotext entries for those ranges. Call them PrimaryHeader, PrimaryFooter, NoPrimaryHeader and NoPrimaryFooter
Close the header footer view, delete the temporary page break and save the finished template
The template uses a macro function to swap the autotext entries as required:
Dim oFld As Field
Dim oRng As Word.Range
If Primary = True Then
If bFooter = True Then
Set oRng = ActiveDocument.StoryRanges(wdPrimaryFooterStory)
Else
Set oRng = ActiveDocument.StoryRanges(wdPrimaryHeaderStory)
End If
Else
If bFooter = True Then
Set oRng = ActiveDocument.StoryRanges(wdFirstPageFooterStory)
Else
Set oRng = ActiveDocument.StoryRanges(wdFirstPageHeaderStory)
End If
End If
For Each oFld In oRng.Fields
If oFld.Type = wdFieldAutoText Then
With oFld
.Locked = False
.Code.Text = Replace(.Code, .Code.Text, "AUTOTEXT " & strLogo)
.Update
.Locked = True
Exit For
End With
End If
Next oFld
lbl_Exit:
Set oRng = Nothing
Set oFld = Nothing
Exit Function
End Function
The function may be called for each header and footer range as part of the print process as in the earlier example.
Dim oDoc As Document
Dim sPrint As String
Set oDoc = ActiveDocument
sPrint = MsgBox("Print to letterheaded paper?", vbYesNoCancel, "Print Letter")
With oDoc
If sPrint = vbNo Then
.PrintOut
GoTo lbl_Exit
End If
If sPrint = vbCancel Then
MsgBox "User Cancelled", vbInformation, "Print Letter"
GoTo lbl_Exit
End If
HideHeaderFooterLogo
.PrintOut
ShowHeaderFooterLogo
End With
Application.ScreenRefresh
lbl_Exit:
Set oDoc = Nothing
Exit Sub
End Sub
Sub HideHeaderFooterLogo()
ChangeLogo "NoFirstPageHeader", False
ChangeLogo "NoFirstPageFooter", True
ChangeLogo "NoPrimaryHeader", False, True
ChangeLogo "NoPrimaryFooter", True, True
lbl_Exit:
Exit Sub
End Sub
Sub ShowHeaderFooterLogo()
ChangeLogo "FirstPageHeader", False
ChangeLogo "FirstPageFooter", True
ChangeLogo "PrimaryHeader", False, True
ChangeLogo "PrimaryFooter", True, True
lbl_Exit:
Exit Sub
End Sub
Pre-printed paper
Print your letter-headed document on pre-printed paper without the letter head.
If you simply hide the letterhead, the document alignment will be wrong as Word removes the space hidden data occupies. Instead, replace the letterhead with a non-printing version at print time. This page explains two methods of doing that.